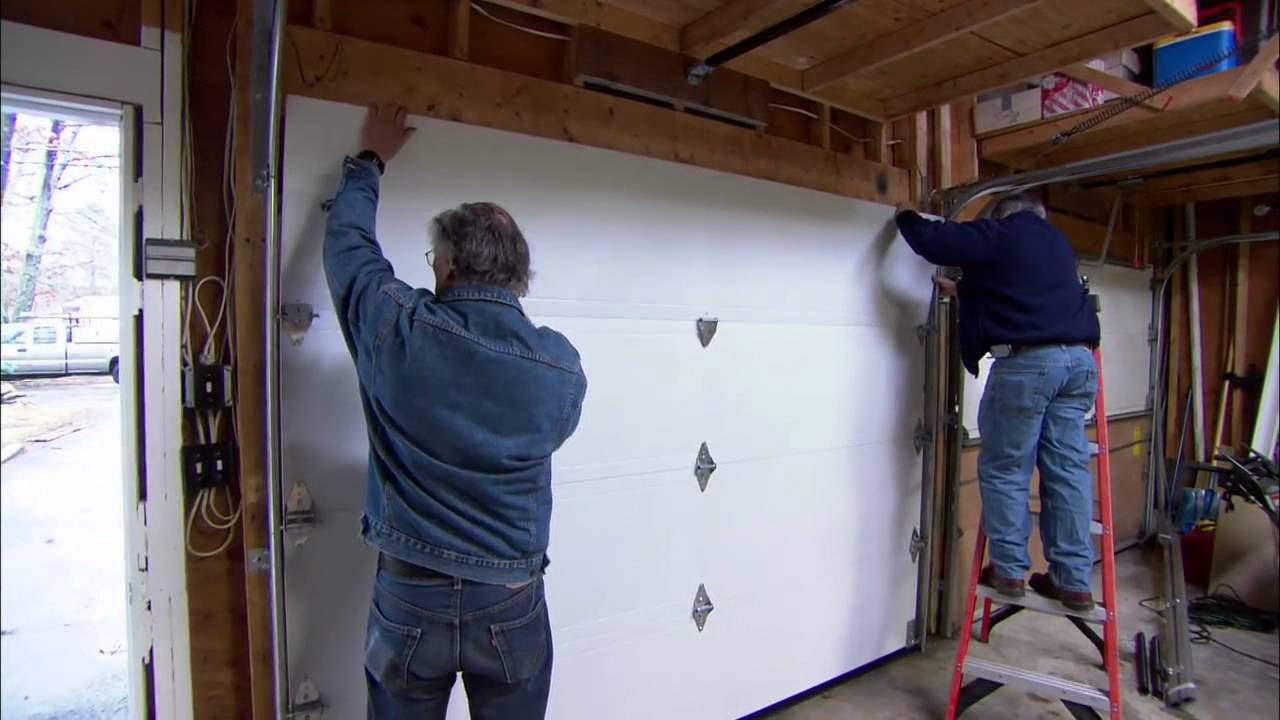
Why Does Your Garage Door Top Panel Sag and Bind?
Reference Standard: ASTM B117 (Standard Practice for Operating Salt Spray Apparatus) and ISO 1000 (Mechanical properties of fasteners).
Short Answer
Tensile-Compressive Stress Reversal: The Hysteresis Loop of Curved Track Transitions
To comprehend why a Oberwalzenbügel undergoes structural buckling without experiencing direct physical impacts, engineers must evaluate the dynamic mechanics occurring at the apex of the garage door track. When the motorized opener arm pulls the top panel through the curved track section, the tension vector is highly non-linear. The bracket is subjected to a severe tensile pulling force—often peaking at 800 Newtons—to hoist the dead weight of the door. However, the exact moment the panel crests the curve and locks into its closed, vertical position, this force instantaneously flips. The opener arm now pushes downward, applying a compressive force to securely seal the top weatherstripping against the header.
This rapid, high-frequency flip between tension and compression subjects the low-carbon structural steel to intense mechanical fatigue. Within the crystalline lattice of the steel, this reversing energy does not perfectly dissipate. Instead, it generates a micro-mechanical phenomenon known as a stress-strain hysteresis loop. During every opening and closing cycle, a minuscule fraction of the mechanical energy is trapped within the metal matrix as internal friction, slowly exhausting the steel’s elastic reserves. Over thousands of cycles, the accumulated hysteresis energy permanently alters the molecular structure. The steel exceeds its yield strength purely through fatigue, resulting in macroscopic plastic buckling where the bracket arm permanently bends outward, causing the top panel to sag away from the door frame and drastically reducing the home’s thermal insulation.
Extreme Environmental Fatigue Timeline:
Consider a commercial logistics bay operating 50 delivery cycles daily using standard, unreinforced top brackets.
* Initial Phase (0-3 Months): The alternating tensile-compressive loads initiate microscopic slip bands within the steel’s ferrite grains. The bracket appears perfectly straight, and the top panel seals tightly, but internal energy hysteresis is actively reducing the metal’s elastic modulus.
* Intermediate Phase (3-9 Months): The hysteresis loop broadens. The steel begins to exhibit minor, visible plastic deformation (1-2 degrees of outward bending). Operators may notice a slight whistling wind noise entering the garage as the top panel fails to compress the weatherstripping with adequate force.
* Terminal Phase (9-12 Months): The accumulated fatigue causes full plastic buckling. The bracket arm bends past 15 degrees, completely changing the geometric angle of the attached 11-ball nylon roller. The misaligned roller binds violently against the curved track, triggering the opener motor’s safety overload sensor and completely jamming the doorway.
Cross-System Cascading Hazards:
When a top roller bracket undergoes plastic buckling, the geometric misalignment forces the attached roller to scrub aggressively against the steel track rather than roll smoothly. This intense localized friction shaves off the nylon tire material, creating highly flammable synthetic dust that coats the internal track rails, drastically escalating the risk of localized track fires if ignited by sparks from adjacent, failing metal hinges.
KEY TAKEAWAYS
Facility technicians must proactively monitor top brackets for these three specific pre-failure mechanical symptoms:
* The Symmetrical Gap Test: Close the door completely and shine a high-lumen flashlight from the outside along the top weatherstripping. If light aggressively penetrates through the corners but the center is dark, the top brackets have yielded and lost their compressive sealing capability.
* Carriage Bolt Haloing: Inspect the area immediately surrounding the bracket’s mounting bolts. The presence of a bright, polished “halo” on the painted door panel indicates that the bracket is micro-slipping and eroding the underlying paint during operation.
* Audible Stuttering: Listen closely as the top panel navigates the track curve. A distinct, rhythmic stuttering or “chattering” sound signifies that the bracket has bent, forcing the roller to skip along the track rather than engage in continuous rotation.
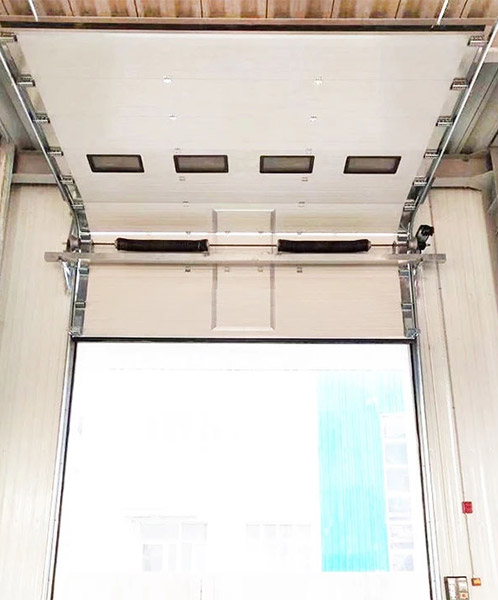
Transverse Vibrational Loosening: The Dissipation of Fastener Clamp Load
Beyond the deformation of the steel plate, the mechanical fastening system of the adjustable garage door top fixtures represents a critical vulnerability. Top brackets are typically anchored to the door panel using carriage bolts or self-tapping sheet metal screws. As the door ascends, the nylon rollers continuously strike the microscopic gaps and seams between the vertical, curved, and horizontal track sections.
Each strike generates a sharp, transverse micro-vibration wave that travels directly down the roller shaft and into the bracket’s mounting base. This high-frequency lateral displacement violently attacks the static friction lock established between the bolt threads and the panel matrix. Through a phenomenon known as fretting wear, the micro-vibrations continuously grind away the microscopic asperities (surface peaks) on the mating surfaces. As these peaks shear off, the coefficient of friction plummets. Within 10,000 operational cycles, this continuous micro-slip can dissipate up to 40% of the original fastener clamp load, causing spontaneous self-loosening. The bracket detaches from its calibrated position, initiating catastrophic track binding.
Anisotropic Grain Flow Alignment & Electro-Galvanized Passivation Matrix
To permanently eradicate the dual threats of stress-strain hysteresis buckling and transverse vibrational loosening, premier heavy-duty hardware foundries deploy a highly orchestrated metallurgical intervention. The solution relies on manipulating the molecular grain structure of the steel during forming, paired with electrochemical armor.
Engineering this invincible garage door roller bracket replacement requires strict adherence to four sequential manufacturing protocols:
1. CNC Anisotropic Grain Flow Alignment
* Execution Protocol: Instead of simple flat-stamping, raw 14-Gauge structural steel sheets are processed through automated multi-axis CNC bending machinery. The engineering programming deliberately aligns the anisotropic grain flow of the steel lattice so that it runs parallel to the primary tensile-compressive stress vectors exerted by the opener arm.
* Expected Material Evolution: By ensuring the molecular grain boundaries flow with the stress rather than against it, the steel’s resistance to cyclic fatigue is exponentially amplified. The hysteresis loop is dramatically narrowed, allowing the bracket to absorb and dissipate the 800-Newton reversing loads indefinitely without ever experiencing macroscopic plastic buckling.
* Hidden Costs & Side Effects: Precisely aligning the grain flow requires specific blanking orientations on the steel coil, which inherently increases raw material scrap waste by up to 15%. Foundries offset this yield loss by recycling the highly pure structural steel offcuts back into secondary, low-stress hardware components.
2. Progressive Multi-Stage Tempering Matrix
* Execution Protocol: Following the intense cold-working of the CNC bending process, the formed brackets are transferred into a continuous atmospheric furnace. They undergo a progressive multi-stage tempering cycle, slowly ramping up to a critical sub-critical temperature before executing a highly controlled, stepped cool-down phase.
* Expected Material Evolution: The multi-stage tempering thoroughly eradicates the internal residual stresses generated during the violent cold-forming process. It homogenizes the crystalline structure, perfectly balancing surface hardness (to prevent fretting wear) with deep core ductility. This guarantees the bracket will flex microscopically to absorb shock without ever reaching a brittle fracture state.
* Hidden Costs & Side Effects: Extended furnace dwell times create severe production bottlenecks on high-speed assembly lines. Leading manufacturers resolve this by integrating automated induction heating coils directly onto the stamping press output lines, achieving localized tempering of the critical bend radii in seconds rather than hours.
3. High-Density Electro-Galvanized Passivation
* Execution Protocol: The tempered brackets are submerged in a sequence of electrolytic baths. Utilizing a precisely calibrated direct current, pure zinc ions are aggressively deposited onto the steel substrate, creating an ultra-dense, uniform protective armor across all external surfaces and internal bolt-hole threads.
* Expected Material Evolution: The electro-galvanized layer acts as a sacrificial anodic shield. It completely seals the vulnerable grain boundaries from atmospheric moisture, neutralizing any threat of intergranular hydrogen embrittlement. The coating guarantees zero base-metal oxidation, consistently passing the rigorous ASTM B117 salt spray fog protocol for 96 continuous hours without red rust nucleation.
* Hidden Costs & Side Effects: Electrolytic plating can cause uneven zinc buildup inside the threaded adjustment slots, preventing bolts from seating properly. Quality control teams counter this by utilizing specialized, low-voltage pulse plating techniques that guarantee absolute coating uniformity even inside deep, complex geometries.
4. Automated CMM Dimensional Auditing
* Execution Protocol: Off the production line, robotic arms randomly select finished top brackets and place them into an automated Coordinate Measuring Machine (CMM). Ruby-tipped styluses physically map the precise geometry of the roller shaft receiving tube and the adjustable sliding carriage slots down to a tolerance of 0.01 millimeters.
* Expected Material Evolution: This absolute geometric precision ensures that when the installer tightens the carriage bolts, the bracket mates perfectly flat against the door panel without inducing any artificial pre-load tension. The perfect alignment maximizes the fastener clamp load, virtually eliminating the risk of transverse vibrational loosening.
* Hidden Costs & Side Effects: High-resolution CMM scanning requires intense environmental isolation to prevent ambient temperature fluctuations from expanding or contracting the metal during measurement. Factories must build dedicated, climate-controlled clean rooms right on the noisy, vibrating stamping floor to house these sensitive optical metrics.
Hardware Endurance Validation Matrix
| Engineering Variable | Standard Light-Duty Bracket | Anisotropic Tempered Bracket | Validation Protocol |
|---|---|---|---|
| Tensile-Compressive Fatigue | Buckles at 15,000 cycles | Exceeds 100,000 cycles | Dynamic Hysteresis Testing |
| Fastener Clamp Load Retention | Loses 40% torque | Maintains > 95% torque | Transverse Vibration Rack |
| Corrosion Resistance Limit | Red rust at 24 hours | Pristine at 96 hours | ASTM B117 Salt Fog |
| Dimensional Concentricity | +/- 1.5 mm tolerance | +/- 0.01 mm precision | CMM Topographic Scan |
| Material Yield Strength | Variable (Untempered) | Consistently > 450 MPa | Tensile Strain Pull Test |
PRO-TIP / CHECKLIST
Professional garage door technicians must verify these critical mechanical parameters before installing top brackets on heavy commercial panels:
1. The Magnetic Plating Check: Run a strong magnet over the surface. While the base steel will attract it, visually inspect the finish. If it is dull gray and highly flaky, it is a cheap mechanical zinc wash. Demand a bright, uniform electro-galvanized finish to prevent rapid oxidization.
2. Verify the Roller Shaft Tolerance: Insert an 11-ball nylon roller stem into the bracket tube. It should slide in smoothly but exhibit near-zero lateral wobble. Excessive play here amplifies transverse micro-vibrations, leading to rapid fastener loosening.
3. Inspect the Bend Radii: Look closely at the 90-degree angles of the bracket. If you see tiny, microscopic white stretch marks or hairline cracking in the zinc layer at the bend, the metal was stamped cold without proper multi-stage tempering and will snap under load.
4. Confirm Adjustment Slot Rigidity: The sliding carriage slots must have raised, stamped borders (ribbing) surrounding the cutouts. Flat slots without ribbing lack flexural rigidity and will inevitably warp under the clamping force of the mounting bolts.
5. Audit the Steel Thickness: Use digital calipers to measure the steel. True heavy-duty commercial top brackets must measure a minimum of 14-Gauge (approx. 1.9 mm). Anything thinner will quickly succumb to hysteresis buckling during curved track transitions.
Häufig gestellte Fragen (FAQ)
how do you lubricate garage door rollers
To lubricate garage door rollers correctly, avoid heavy grease or WD-40, which attract abrasive grit. Use a specialized lithium-based or silicone spray. For steel rollers with unsealed bearings, spray directly into the ball bearing raceway. For nylon rollers with sealed bearings, do not spray the bearings; only apply a light coat to the exterior of the roller stem where it interfaces with the hinge tube.
how to program a chamberlain garage door opener
To program a Chamberlain opener, locate the “Learn” button on the back or side of the overhead motor unit (often under the light lens). Press and release it; the indicator LED will glow steadily. Within 30 seconds, firmly press and hold the button on your handheld remote control until the motor unit’s lights blink or it produces two audible clicks, confirming the synchronization.
how to install garage door
Installing a garage door requires extreme caution and structural precision. It involves sequentially stacking the horizontal panels, securing them with heavy-duty hinges, and perfectly leveling the vertical and curved steel tracks. The most critical and dangerous phase is winding the high-tension torsion springs on the header shaft to counterbalance the door’s weight; this specific step should strictly be performed by licensed professionals.
wie man die Garagentorfeder ersetzt
Replacing a garage door torsion spring is highly dangerous due to stored kinetic energy. You must first secure the door in the closed position and use perfectly fitted winding bars to carefully unwind the tension from the unbroken spring. Disconnect the center bracket and cables, slide the old springs off the torsion shaft, install the matched replacement springs, re-anchor the cables, and systematically wind the new springs to the exact calibrated quarter-turns required for the door’s weight.