
ガレージドア用トーションスプリングブラケットのコピーライティング:エネルギーの流れ、幾何学的制御、および検証戦略
参照標準: 産業用ドア金具の製造において一般的に用いられている、関連する材料および性能試験基準、寸法検査の手法、ならびに耐食性検証手順。.
短答
ガレージドアのトーションスプリング用ブラケットは、単なる取り付け部品ではありません。これは、蓄積されたスプリングのエネルギー、シャフトの動き、およびベアリングの支持力を伝達する接点としての役割を果たします。適切に選定されたブラケットは、 4.0 mmの亜鉛メッキ構造 そして 内径 25.4 mm 予測可能な動作の維持、寸法公差の変動の低減、およびシステムの長期的な安定性の確保に寄与します。.
トーションスプリングアセンブリ内部のエネルギーの流れを追う
ガレージドアが開閉する際、トーションスプリング内に蓄積されたエネルギーは即座に消失するわけではありません。その代わりに、一連の連結された構成部品を通じてエネルギーが伝達されます。スプリングはトルクをシャフトに伝達し、シャフトはベアリングを介して回転し、ブラケットはこれらの可動要素を所定の位置に保持するための構造上の基準となります。.
このため、トーションスプリングブラケットには、単一の静荷重ではなく、繰り返しの力サイクルが加わります。カタログの仕様には、 4.0 mm 亜鉛メッキスプリングブラケット ~で 内径 25.4 mm, 、これにより、軸受界面と回転軸系の間に寸法的な関係が形成される。.
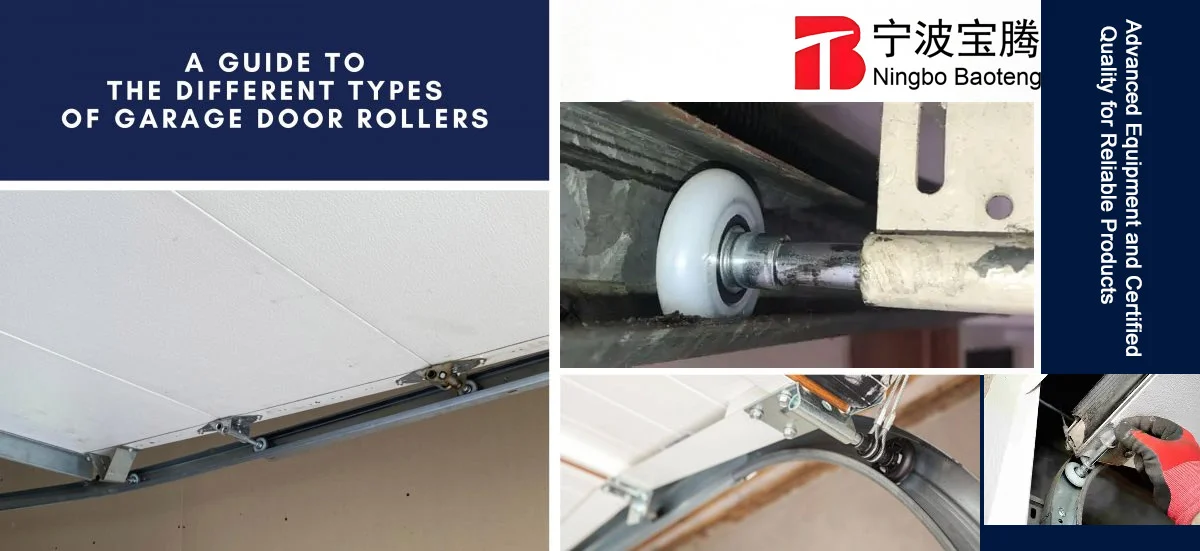
データ概要
| パラメータ | カタログ価格 |
|---|---|
| ブラケットの厚さ | 4.0 mm |
| 内径 | 25.4 mm |
| 表面仕上げ | 亜鉛メッキ |
| 関連するばね保護部品 | 3/4インチおよび1.25インチの仕様 |
極端なシナリオモデル
1日あたり何度も開閉が繰り返され、その状態が数年続くような高頻度使用環境を想定してください。.
初期段階:
– シャフトの動きが安定している
– 安定したベアリング支持
– 予測可能なエネルギー伝達
中年の段階:
– 繰り返される回転応力が蓄積される
– 接触部では、わずかな寸法変化を伴う摩耗が生じ始めることがある
– 設置の不備がより目立つようになる
後期段階:
– わずかな幾何学的偏差が、動作の滑らかさに影響を与える可能性があります
– エネルギーの伝達が不均一になる
– メンテナンスの間隔はますます重要になってきている
適切に組み合わせられたブラケットシステムと、組み合わせが不適切なアセンブリとの比較試験を行うと、通常、外観よりも幾何学的な整合性の方が重要になることがよくわかります。2つのブラケットは見た目が似ていても、動作上の結果は大きく異なる場合があります。これは、エネルギーの伝達経路が視覚的な類似性ではなく、寸法によって制御されるためです。.
設置時の兆候を逆方向に読み解き、幾何学的逸脱を見つける
多くの技術者は、ハードウェアそのものからトラブルシューティングを始めます。しかし、目に見える症状から着手し、そこから設置環境へと遡って調査していく方が、多くの場合、より効果的なアプローチとなります。.
観察可能な症状の例としては、次のようなものがあります:
- ドアの開閉距離のばらつき
- シャフトの動きにばらつきがある
- 漸進的なアライメントの変更
- 不規則な軸受支持挙動
こうした症状は、目に見える構造的な損傷が現れる前にしばしば現れます。.
現場検査のワークフロー
| 観察 | 幾何学上の問題の可能性 | 点検ポイント | 優先順位 |
|---|---|---|---|
| 不均一な動き | 取付オフセット | ブラケットの設置位置 | 高い |
| 繰り返し調整が必要 | ファスナーの位置のばらつき | 取り付け穴 | 高い |
| シャフトの追跡の不整合 | Angularのインストールエラー | ブラケットプレーン | ミディアム |
| ベアリングの動き | 寸法の不一致 | 穴内嵌合 | 高い |
| 運用上のばらつき | 組立公差の積み上げ | 完全組み立て | ミディアム |
工学上の重要な原則として、形状の誤差は、接続された部品を通じて増幅されやすいという点が挙げられます。ある取り付け箇所でのわずかなずれが、下流にある複数の部品に影響を及ぼす可能性があります。.
次元間の比較
テストケース A:
– ブラケットの位置を正しくする
– シャフトの適切な位置合わせ
– 安定した動作特性
テストケース B:
– 取り付け位置にわずかなずれがある
– 外観上は同一のハードウェア
– 調整頻度の増加
その違いは、必ずしも材料の強度によるものではありません。多くの場合、それは軸、軸受、およびブラケット系の間の幾何学的関係によるものです。.
なぜ似たような投資戦略でも、長期的な成果が異なるのか
購入の際によくある間違いの一つは、見た目が似ているブラケットなら性能も同じだと決めつけてしまうことです。.
実際には、製造の一貫性が長期的な成果に影響を及ぼします。.
製造ロジックフロー
原材料の選定
↓
プレス加工
↓
孔の形成
↓
表面仕上げ
↓
寸法確認
↓
組立互換性検査
↓
パッケージング
たとえ2つの製品がほぼ同じに見えても、以下の点で違いがある場合があります:
- 穴の位置精度
- 表面の均一性
- 平坦度管理
- 寸法の一貫性
- 軸受の嵌合状態の確認
メカニズムの詳細解説
4.0 mmのブラケット構造は、時間の経過とともに繰り返し力が加わる繰返し環境下で動作します。繰り返しの動きによって製造上のわずかなばらつきが拡大されやすいため、寸法の一貫性が重要となります。.
疲労経過のシミュレーション
初期:
– 形状は元の仕様にほぼ準拠している
– 安定したサポート体制
中期:
– 繰り返しサイクルを行うことで、アセンブリの弱点が明らかになる
– フィット感の良さがますます重要になってきている
サービス期間の延長:
– 寸法公差が累積する
– 保守時の観察結果は、目視検査だけを行う場合よりも価値が高まる
二次的なシステムへの影響
見過ごされがちな問題として、ブラケットに関連する寸法公差が隣接する部品に影響を及ぼす可能性があることが挙げられます。支持部の形状が変化すると、接続されたハードウェアの動作条件が変化する可能性があります。その結果、必ずしも即座に故障に至るわけではありませんが、効率の漸進的な低下、調整頻度の増加、およびトラブルシューティングの困難化を招くことになります。.
主なポイント
- 調整の頻度を増やすことは、ハードウェアに目に見える損傷が現れる前に、幾何学的ドリフトが生じていることを示唆する場合があります。.
- ドアの開閉範囲にばらつきが生じるのは、構造的な摩耗が現れるよりも早い段階で起こる場合があります。.
- 支援体制のどこかに不整合がある場合、支援介入が繰り返し行われることがよくあります。.
スプリングの予荷重適用前の検証戦略
スプリングの張力調整作業を開始する前に、点検では是正保全よりも設置準備状況に重点を置くべきである。.
解決策 1:寸法の確認
執行手順書
組み立てを行う前に、ブラケットの厚さ、穴の寸法、および対象となるシャフトやベアリングの構成との互換性を確認してください。.
予想される材料の挙動
寸法を正確に合わせることで、繰り返される動作サイクルを通じて、一貫した支持関係が維持されます。.
隠れたコストの防止
寸法チェックを省略すると、将来的な整備時間が増加したり、トラブルシューティングが複雑化したりする可能性があります。.
解決策 2:表面状態の検証
執行手順書
設置前に、亜鉛メッキの被覆状態および表面全体の品質を確認してください。.
予想される材料の挙動
均一な表面仕上げにより、予測可能な耐環境性が確保されます。.
隠れたコストの防止
早期発見により、組み立て後の不必要な手直しを防ぐことができます。.
解決策 3:ベアリングの互換性確認
執行手順書
ブラケットの開口部とベアリングの構成との互換性を確認してください。.
予想される材料の挙動
適切なフィット感により、安定した回転誘導が実現されます。.
隠れたコストの防止
後になって調整作業を繰り返す必要がなくなります。.
解決策 4:組立準備状況の監査
執行手順書
取り付け位置、金具の状態、および設置の幾何学的形状を確認してください。.
予想される材料の挙動
一貫した組立形状は、操業の予測可能性を維持するのに役立ちます。.
隠れたコストの防止
試運転の遅延や予期せぬ保守作業の発生を軽減します。.
| 変数 | 想定される状態 | 一般的な許容値の考え方 | 検証方法 |
|---|---|---|---|
| 厚さ | 4.0 mm | 作図要件 | キャリパーの点検 |
| 内径 | 25.4 mm | 寸法要件 | ゲージ測定 |
| 終了 | 亜鉛メッキ | 外観検査 | 表面検査 |
| 平坦度 | 安定 | 製造要件 | 平面検証 |
| 組立時の嵌合 | 互換性あり | インストール要件 | 試作組立 |
プロのヒント/チェックリスト
- 取り付け前にブラケットの厚さを確認してください。.
- 穴の内径を測定してください。.
- 亜鉛メッキ面の状態を確認してください。.
- ベアリングの互換性を確認してください。.
- 取り付け位置に一貫性があるか確認してください。.
- バネを装着する前に、すべての締結部品を点検してください。.
- 複数の視点から組み立て形状を確認してください。.
- 今後のメンテナンスの参考となるよう、点検結果を記録してください。.
よくある質問(FAQ)
ガレージのドアを塗り直すには?
表面を徹底的に洗浄し、剥がれかけた塗膜を取り除き、適合する下地塗料を塗布した後、ドアの材質に合わせて設計された屋外用塗料システムを使用してください。メーカーの硬化に関する推奨事項に従ってください。.
ガレージドアオープナーを車とペアリングするにはどうすればいいですか?
ほとんどのシステムでは、車両の統合型オープナーのプログラミングモードに入り、ガレージオープナーの学習機能を有効にし、車両およびオープナーの取扱説明書に従って同期を完了させる必要があります。.
フォードのガレージドアオープナーの設定方法は?
選択したHomeLinkボタンを長押しし、ハンドヘルド送信機を起動してから、システムで必要とされる場合は、オープナーの学習ボタン操作手順に従って同期を完了してください。.
 English
  Русский
  日本語
日本語  한국어
한국어  Français
  Deutsch
  العربية
  Português
  Español