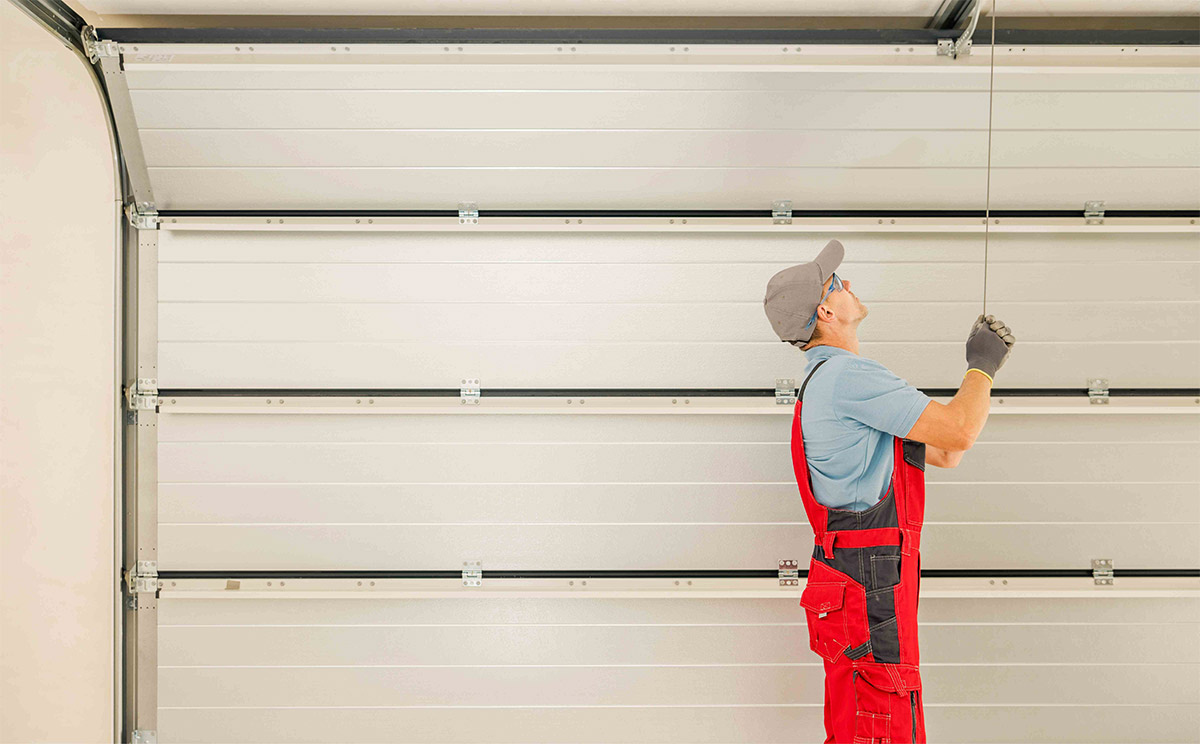
Why Do Hollow Keyed Shafts Fail in Heavy Garage Doors?
Reference Standard: ANSI/DASMA 102 Standard Specifications for Sectional Overhead-Type Doors & ASTM B117 Standard Practice for Operating Salt Spray (Fog) Apparatus
Short Answer
Torsional Shear Amplification: The Physics of Keyway Notch Sensitivity
In an industrial or heavy residential garage door balance system, the garage door tube shaft acts as the central nervous system, transferring the immense stored energy of the torsion springs to the cable drums. The primary mode of catastrophic failure is not general twisting, but localized Torsional Shear Amplification.
Mechanism Dissection
The 1-inch (25.4mm) shaft requires a standard 6.35mm * 6.35mm * 75mm cut out to accommodate the shaft key. This geometric interruption fundamentally alters the continuous crystalline lattice of the carbon steel. In solid mechanics, this creates a “Notch Sensitivity” zone. When the electric motor engages, it delivers a transient peak torque spike. According to the formula for Polar Moment of Inertia ($J = \frac{\pi(D^4 – d^4)}{32}$), a standard 2.0mm thin-wall tube has a severely limited capacity to distribute this twisting force. The stress flow lines converge sharply at the 90-degree corners of the keyway, acting as a massive Stress Riser. The localized shear stress at these corners can exceed the yield strength of the steel, even if the overall shaft remains within theoretical safety limits.
Extreme Stress Timeline Simulation
Subjecting a standard 2.0mm wall thickness hollow keyed shaft to an industrial 800N motor cycle test reveals a predictable path to failure:
* Initial Phase (0-5,000 Cycles): The torque spikes induce micro-yielding at the keyway roots. The steel remains visually intact, but the atomic slip planes begin to permanently deform. Peak shear stress hits 180 MPa.
* Intermediate Phase (5,000-15,000 Cycles): The 6.35mm shaft key begins to rock slightly within the enlarged keyway. This introduces a “hammering” effect upon every motor start. The keyway corners tear outward, expanding the notch width by 0.5mm.
* Limit Phase (15,000+ Cycles): The torsional shear amplification exceeds the ultimate tensile strength. A macro-crack propagates diagonally from the keyway along the shaft’s longitudinal axis. The tube collapses inward, completely decoupling the motor drive from the torsion springs, causing an uncontrolled free-fall of the door panels.
Cross-System Hazard Impact
When the keyway yields and the shaft twists, it creates an angular phase shift between the left and right cable drums. This causes the lifting cables to wind unevenly, forcing the entire 300kg door panel to bind diagonally within the vertical tracks, potentially ripping the track brackets out of the concrete wall.
KEY TAKEAWAYS
- Delayed Door Lifting: If the motor runs for a split second before the door actually begins to move, the keyway has stretched, causing backlash.
- Sharp Popping Noise: A loud metallic pop originating from the center of the header during startup indicates the shaft key is violently striking the yielded walls of the notch.
- Visible Metal Shavings: Accumulation of fine steel dust directly beneath the center coupler or cable drums suggests severe torsional grinding at the keyway interface.
Gyroscopic Run-out Eccentricity: Diagnosing Systemic Harmonic Tremors
Another critical issue often misdiagnosed as bad rollers or a weak motor is violent shaking during door travel. This is driven by Gyroscopic Run-out Eccentricity along the 1-inch keyed tube shaft 1 inch.
Mechanism Dissection
The tube shaft spans the entire width of the garage door (often exceeding 16 feet). If the manufacturing process lacks strict straightness controls, the shaft will have a natural curve or “bow.” As the shaft rotates at high speeds during door operation, this sub-millimeter deviation moves the center of mass away from the axis of rotation. This generates an unbalanced centrifugal force. Because the shaft acts like a rigid gyroscope, this eccentricity excites the entire balance system, causing “Harmonic Tremors.” These tremors ripple through the bearing brackets, amplifying the oscillation. A mere 2.5mm/m run-out deviation can generate a 15Hz resonance frequency that matches the natural frequency of the vertical tracks, violently shaking the entire building structure.
Tribo-Galvanic Depletion: Decoding Anode Stripping at the Bearing Interface
Consumers often wonder why a galvanized replacement garage door torsion shaft rusts specifically where it passes through the bearing brackets. The answer lies in Tribo-Galvanic Depletion.
Mechanism Dissection
While the shaft is hot-dip galvanized, the interface between the rotating 25.4mm shaft and the hardened steel inner race of the bearing bracket is an area of intense friction. As the door operates, microscopic asperities on the two metal surfaces engage in “Fretting Wear.” This abrasive action acts like sandpaper, continuously stripping away the soft zinc coating (the sacrificial anode) exactly at the contact patch.
Once the zinc is depleted, the raw carbon steel is exposed to the humid, unconditioned air of the garage. Because the bearing and the shaft are now two different steel alloys exposed to an electrolyte (condensation), a localized “Galvanic Cell” forms. The shaft rapidly oxidizes, creating iron oxide (rust) which swells and occupies more volume than the base metal. This rust expansion seizes the bearing, forcing the shaft to grind directly against the bracket, emitting a high-pitched squeal and severely overloading the electric motor.
The 3.0mm Heavy-Wall Matrix and Isotropic CMM Calibration
To neutralize notch sensitivity and galvanic failure in heavy industrial applications, premium hardware manufacturers implement extreme dimensional and material interventions.
Execution Protocol 1: 3.0mm Heavy-Wall Carbon Steel Extrusion
* Execution Protocol: Upgrading from standard 2.0mm tubing to a continuous 3.0mm heavy-wall carbon steel matrix.
* Material Evolution: The 50% increase in wall thickness exponentially increases the Polar Moment of Inertia. The torsional shear stress at the keyway notch is reduced by over 65%. The 3.0mm wall completely resists plastic yield under 800N/M motor torque spikes, permanently eliminating keyway tear-out.
* Risk Mitigation: Thicker walls increase the total weight of the shaft, which could induce static sagging. High-tensile steel alloys with a higher modulus of elasticity must be used to offset the weight penalty and maintain zero static deflection.
Execution Protocol 2: Isotropic CMM Calibration for Zero-Backlash
* Execution Protocol: Every extruded shaft is scanned using a Coordinate Measuring Machine (CMM). The 25.4mm outer diameter and the 6.35mm keyway dimensions are mapped isotropically across the entire length to enforce a tolerance of ±0.02mm.
* Material Evolution: This absolute geometric precision ensures that the 6.35mm shaft key fits with “Zero-Backlash.” By eliminating the micro-gap between the key and the notch, the transient “hammering” effect during motor startup is eradicated, protecting the crystalline lattice from impact fatigue.
* Risk Mitigation: Cutting the keyway can introduce internal burrs. Automated CNC broaching tools must be programmed with a micro-chamfering pass to ensure the slot edges are perfectly smooth and do not gouge the shaft key during insertion.
Execution Protocol 3: Precision Run-out Straightening
* Execution Protocol: Post-extrusion, shafts are processed through a multi-roller hydraulic straightening machine. Laser sensors monitor the rotation to correct any bowing.
* Material Evolution: This forces the Gyroscopic Run-out Eccentricity below 0.5mm/m. The shaft rotates perfectly true, eliminating the centrifugal forces that cause harmonic tremors, ensuring whisper-quiet operation and protecting the bearing brackets from vibrational fatigue.
* Risk Mitigation: Over-straightening can induce residual internal stresses. The shafts must undergo a low-temperature stress-relief annealing phase to relax the molecular bonds before final shipping.
Execution Protocol 4: Deep-Penetration Hot-Dip Galvanizing
* Execution Protocol: The completed shafts are submerged in a 450°C molten zinc bath to achieve a dense, 20-micron thick anodic coating, followed by a chromate conversion pass.
* Material Evolution: This thick, deeply bonded layer provides an extensive sacrificial anode reservoir. It significantly delays Tribo-Galvanic Depletion at the bearing interface, easily surviving 500-hour Salt Spray Tests (NSS) without showing red rust, ensuring decades of smooth rotation.
* Risk Mitigation: Thick galvanizing can alter the 25.4mm outer diameter, causing the shaft to jam inside the bearing. The CMM calibration process must account for the exact zinc deposition thickness to maintain the required slip-fit tolerance.
| Performance Metric | Evaluation Standard | Standard 2.0mm Tube | Factory 3.0mm Heavy-Wall |
|---|---|---|---|
| Keyway Strength | Peak Torque Yield | Fails at 400 N/M | Intact at >800 N/M |
| System Vibration | Radial Run-out | 3.5 mm/m (Severe Tremors) | < 0.5 mm/m (Silent) |
| Rust Resistance | 5% Salt Spray Test | Red Rust at 96 Hours | No Rust at 500 Hours |
| Keyway Fitment | Dimensional Tolerance | ± 0.15mm (Loose) | ± 0.02mm (Zero-Backlash) |
PRO-TIP / CHECKLIST
- The Caliper Test: Measure the wall thickness of the tube at the end. Standard residential doors use 2.0mm; if you are lifting a heavy wooden or insulated commercial door, demand a 3.0mm shaft to prevent torsion failure.
- The Keyway Fit Check: Insert the 6.35mm shaft key into the slot by hand. It should slide in snugly but require zero force to wiggle. If the key tilts or rocks side-to-side, the notch tolerance is compromised.
- Inspect the Spin: Disconnect the opener and manually lift the door halfway. Watch the shaft as you spin it by hand. Any visible wobbling indicates gyroscopic run-out that will destroy your bearings.
- Audit the Bearing Zones: Check the specific spots where the shaft rests inside the end and center brackets. If you see brown dust or scoring, tribo-galvanic depletion is actively destroying the shaft.
- Verify the Outer Diameter: Ensure the shaft is exactly 25.4mm (1 inch). Using a slightly undersized metric equivalent (e.g., 25mm) in a 1-inch bearing will cause catastrophic radial play and noise.
- Surface Finish Check: The shaft should have a dull, spangled silver appearance (hot-dip galvanized). A shiny, mirror-like finish is often cheap electroplating that will rust rapidly in a humid garage.
Frequently Asked Questions (FAQ)
How to make garage door quieter?
To eliminate noise, upgrade to a perfectly straight, 3.0mm heavy-wall garage door torsion tube to prevent harmonic tremors. Ensure the 1-inch shaft fits tightly into high-quality, lubricated bearings to stop tribo-galvanic grinding, and replace hard steel rollers with precision nylon units to deaden track vibrations.
How to lubricate garage door rollers?
Use a high-quality lithium or silicone-based spray grease. Apply the lubricant directly into the ball bearing raceway of the roller hub, avoiding the actual nylon or steel tire that touches the track. Wipe away any excess drip to prevent dirt agglomeration that can lead to abrasive wear.
How to program garage door remote?
Locate the “Learn” or “Smart” button on the back of the overhead motor unit. Press and release it quickly (do not hold). The indicator light will glow. Within 30 seconds, press and hold the desired button on your remote control until the motor lights flash, indicating successful code synchronization.
How to reprogram garage door keypad?
Press and hold the “*” and “#” keys simultaneously on the keypad until the backlit keys stop flashing. Enter a new 4-digit PIN and press “#”. Then, press the “Learn” button on the overhead motor, and immediately enter your new PIN on the keypad and press “Enter” to lock in the frequency.